Expert Tiling Techniques for a Flawless Finish: Tips from The Tile Guy Nov 29, 2025
Before laying the first tile, preparation is key. The surface must be clean, smooth, and completely flat. Any dust, debris, or uneven patches need to be addressed, as they can compromise the adhesion of the tiles. If your base is concrete, ensure it's free from cracks and use a leveling compound if necessary. For surfaces like plywood, a primer may be required to enhance grip. Proper preparation isn't just about aesthetics; it ensures durability and prevents future issues.
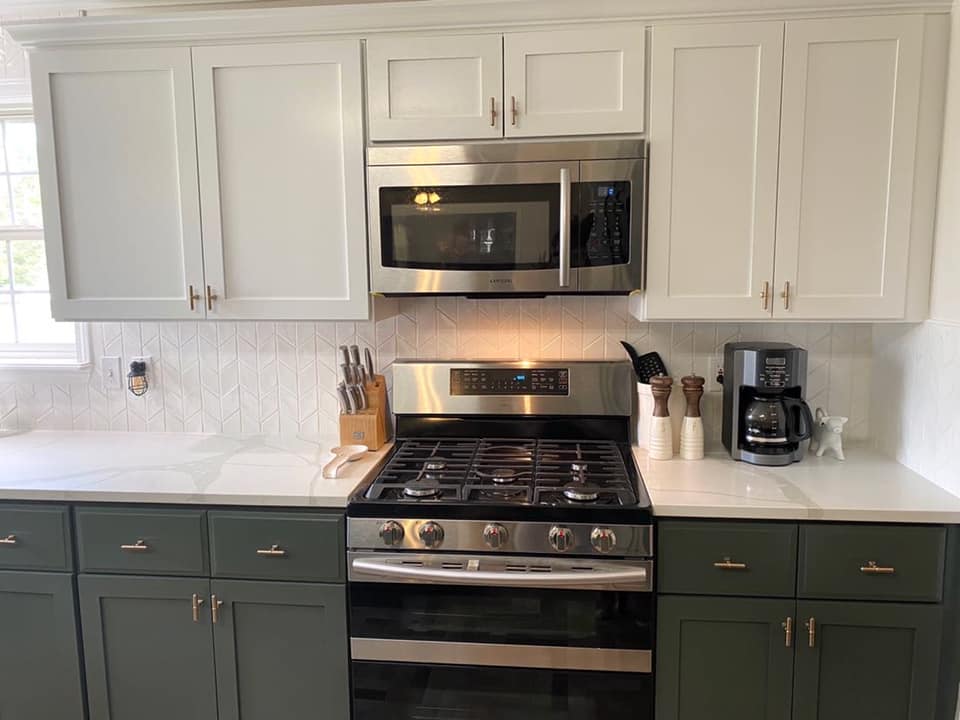
Choosing the right tile for your project is crucial. Consider not only design but also the specific demands of the space. For instance, glazed ceramic or porcelain tiles are ideal for high-moisture areas like bathrooms due to their water-resistant properties. For areas like the living room or entryway, natural stone tiles can provide an elegant touch. Remember, the size and color of your tiles also affect the perception of space. Larger tiles can make a small room appear more expansive, while lighter hues can add a sense of airiness.
Adhesive choice is another pivotal aspect of successful tiling. The type of adhesive should match both the tile material and the surface. Traditional sanded adhesives are suitable for most ceramic and porcelain tiles, while epoxy resins are better for glass tiles due to their transparency and superior bonding strength. Mixing the adhesive to the right consistency is vital—too dry, and it won't adhere properly; too wet, and it may not hold the tiles in place.
Once you've laid out your tiles, proper spacing is vital. Use spacers to ensure uniform gaps between tiles, which will not only improve the visual appeal but also facilitate proper grouting. Spacers are available in various sizes, which can be chosen based on the design or tile size. For a sleek, modern look, a narrower grout line works well, whereas a wider line can add a rustic charm.
After the adhesive has set, grouting completes the process. Grouting provides stability to the tiles and fills gaps to prevent moisture penetration. Selecting the correct grout color is crucial as it can either contrast or blend with the tiles, affecting the overall aesthetic. Whether you're using sanded or unsanded grout depends on the size of the tile joints. Sanded grout works better for larger gaps, but be careful with more delicate tiles to prevent scratching.
Finally, sealing the grout is an essential step, especially in wet areas. Sealing helps to prevent stains, mold, and mildew, adding years to the life of your tiles. Remember to reapply sealant periodically as part of your maintenance routine.
In conclusion, expertly executed tiling can significantly elevate the style and functionality of any space. With The Tile Guy's insights into proper preparation, tile selection, adhesive application, and grouting techniques, you can achieve a flawless finish that will stand the test of time. Whether you're a DIY enthusiast or planning to hire professionals, understanding these fundamentals is key to a successful tiling project. Transform your space into a masterpiece with tiles that not only impress but last.
/filters:no_upscale()/filters:format(webp)/media/9092f633-767b-4920-a9a8-4d7aec7cc630.jpg)
/filters:no_upscale()/filters:format(webp)/media/cc6f12dd-af96-4c1c-b689-103aa4191fe1.jpg)